This
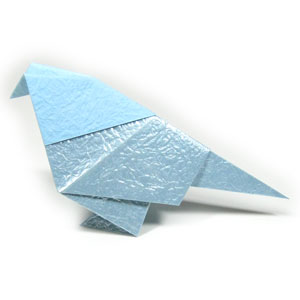
page is for those who want the instruction to fold a traditional origami bird. The most important lesson for origami bird is that a valley-folded crease can be converted into a mountain-folded crease. This useful techniques can be applied when you design a new origami model. The base of origami bird is "kite base" which is used for making an origami swan. Also you will learn what "inside reverse-fold" from this origami bird. Before working on this model, you need to know what valley-fold and mountain-fold are. If you know these two folding techniques, then you will have no problem in making origami bird.
If you are ready, then let's get started.
If you find any bugs on this instruction, please send an email to .
You may use any kind of paper to fold the
origami bird. It is a little easier if the front and the back side of the paper are
slightly different whether it be in texture or color.
Make sure the paper
that you use is a square(all sides are equal and all the angles
equal 90 degrees). The paper I am using here is 20cm x 20cm square one. It is a good size for those who are not expereienced in paper folding. If you are become familiar with this model. Then you can try smaller size paper.
00A.
This is the front side of paper.
00B.
This is the back side of paper.
Keep in your mind that the front side is the shinier one.