This
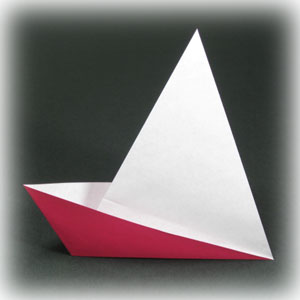
page is for those who want the instruction to fold a traditional easy origami boat.
This traditional easy origami boat might be the simplest origami boat you will ever fold. In this instruction, there are six steps to complete this model. However, if you become an expert, you will only need two steps to make it. Those steps are one valley-fold and one outside reverse-fold. This is a good example to learn the folding technique of outside reverse-fold. If you want, you can try this boat on the water. It actually floats.
Before working on this model, you need to know what valley-fold and mountain-fold are. If you know these two folding techniques, then you will have no problem in making origami sailboat.
If you are ready, then let's get started.
If you find any bugs on this instruction, please send an email to  . .
You may use any kind of paper to fold the
origami boat. It is a little easier if the front and the back side of the paper are
slightly different whether it be in texture or color.
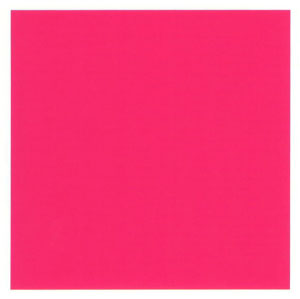
Make sure the paper
that you use is a square (all sides are equal and all the angles
equal 90 degrees). The paper I am using here is a typical one-side color origami paper with a dimension of 15cm x 15cm square. It is a good size for those who are not experienced in paper folding. If you are become familiar with this model. Then you can try smaller size paper.
|