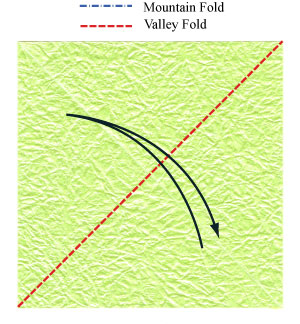
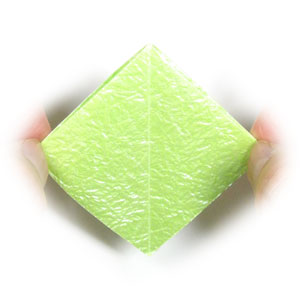
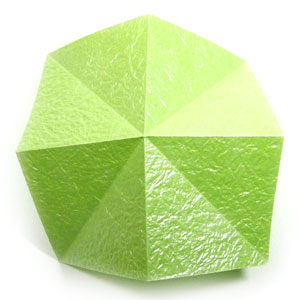
arrow_left

How to make a square-base in origami

(page 1)

arrow_right


square-base in origami


This page is for those who want the instructions to make a square-base in origami.

A square-base can be made by applying two valley-folds and one horizontal mountain-fold to a square paper.


The instruction is shown below. Just click on "Ascend" button. You will be given a step-by-step guide how to apply a fold. If you miss a step, then just click on "Descend" button to go back to the previous step.

If the screen is blank, just wait until it shows a message saying "Are you ready to get started?". If you find any bugs on this instruction, please send an email toemail.

If you are ready now, let's have a fun learning to make a square-base in origami.


left arrow
left arrow


1


Square base is one of two important simple base in origami. Equally important base is Balloon base. The relationship between Square base and Balloon base is like one between valley-fold and mountain-fold.


square base front side

You can start with any kind paper with a square size.

Here the back side of the paper is shown.

square base 00A

This is the front side of paper.


It is somewhat shinier compare to the back side.


The crease pattern (CP) for square base is shown on the left.


The order of folding is

(1) two valley-folds followed by

(2) two mountain-folds.


The following steps #1 through #8 explain these folding in detail.


square base step #1

1.

Let's start with a paper's front side facing up.


Prepare for a valley-fold along a diagonal line.


square base step #2

2.

Apply the valley-fold of the step #1.


square base step #3

3.

Prepare for a valley-fold along another diagonal line.


square base step #4

4.

Valley-fold along the diagonal line.


square base step #5

5.

Prepare to mountain-fold along the middle horizontal line.


square base step #6

6.

Apply the mountain-fold of the step #5.


square base step #7

7.

Prepare to mountain-fold along the middle vertical line.


square base step #8

8.

Mountain-fold along the middle vertical line.


Prepare to grab two arrow points with two fingers.


Since there are four arrows, you need to use two hands.


square base step #9

9.

Grab two edges with fingers.


Prepare to squeeze the model.


square base step #10

10.

Squeeze the model.


square base step #11

11.

Prepare to move two fingers following the arrow directions.


square base step #12

12.

Make the model to be flat.


Prepare to rotate the model vertically by 90 degrees.


square base step #13

13.

Rotate the model vertically by 90 degrees.


square base step #14

14.

Square base is now completed.


Relationship between square base and balloon base


square base step #15

15.

Let's try to find out the relationship between square base and ballon base.


Open the square base from the step #14.


square base step #16

16.

Turn the paper over.


square base step #17

17.

Grab opposite edges.


square base step #18

18.

Twist your fingers so that the center gets pop-up.


square base step #19

19.

Prepare to make the model flat.


square base step #20

20.

Flatten the model.


square base step #21

21.

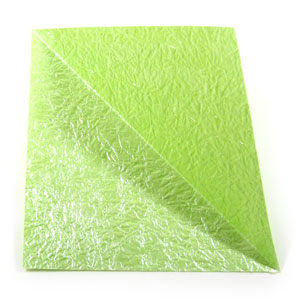
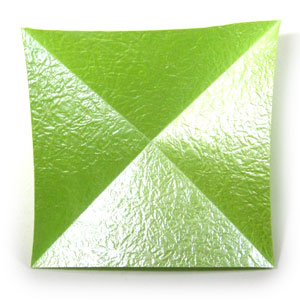
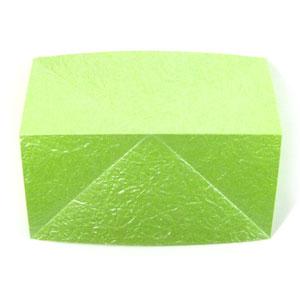
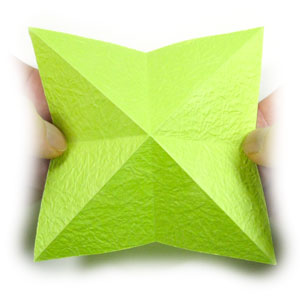
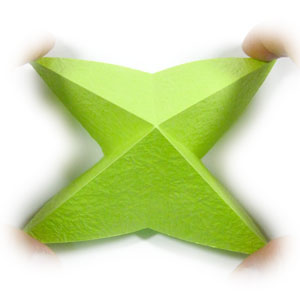
Balloon base is completed.


But remember that the surface of the balloon base is the back side of the paper.


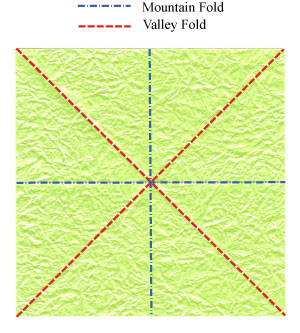
This means that there is one-to-one correspondence between back-side balloon base with front-side square base.


If you make a back-side square base, then it can be converted to a front-side balloon base.